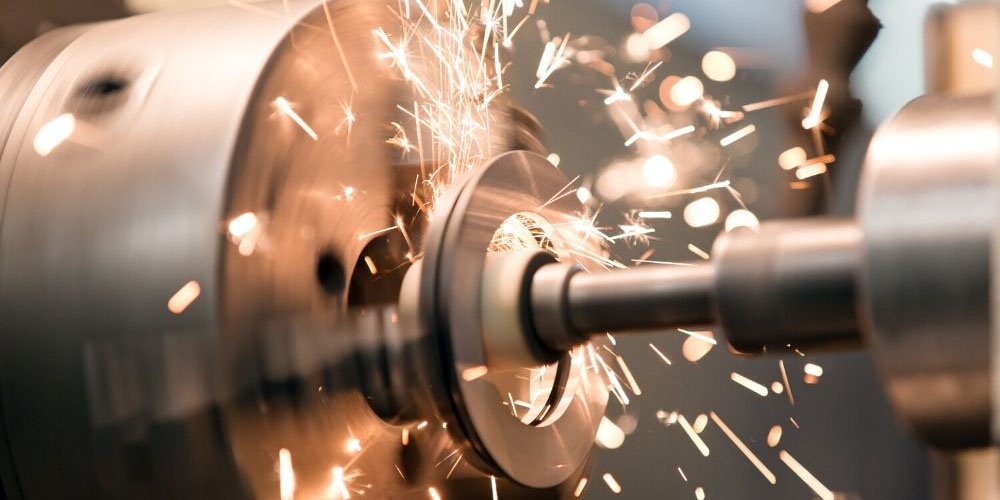
Prototype creation is the first step most prototyping companies will take before developing a product. Ideally, it’s the most vital phase of every product development.
As an aspiring product designer, you must understand that making prototypes isn’t as hard as people make it out to be. In this short post, you will find out how you can make prototypes for different products or services and become an amazing designer in a short time.
What is the Importance of Prototyping in Design
The following are reasons why you must consider prototyping before starting out any design:
- Prototypes let the customer visualize the outcome of the final product.
- In the prototyping phase, a designer can identify unimportant elements and remove them early enough;
- Prototyping allows the designer to focus on more important aspects of the design.
- It saves the designer from handling a lot of workloads. This also prevents the custom fr spending so much money.
Making a Prototype: Step-by-Step
These simple steps below will show you how you can create the perfect prototype:
1. Find out the requirements
Before starting out with a product prototype, you need to identify the basic requirements of what you are creating. Think about the input, output, and functionality.
If you’re completely lost on ideas, research existing products that are somewhat similar to your intended design. Ensure to study it thoroughly and see how you can use it to develop your own.
2. Sketch your idea or concept
Here, you’re expected to sketch the exact design you want to follow. As a beginner, you might want to ditch digital drawing at this point and try to use a pencil on paper instead. That’s because the latter is more efficient and you can easily claim ownership of your drawing if the need arises.
3. Make a virtual prototype
Once you are done sketching on paper, the next step is to make a digital version of the sketch.
To achieve this, you have AutoCAD, standard design software that is often used to create 2D and 3D designs.
With 3D renderings, you can rotate or give life to your digital sketch. That way, you can have a clear picture of the different angles of your product. Since this is the design you intend to use for creating the product prototype, you need to make sure that it’s detailed.
4. Create your first prototype
Now, your first prototype doesn’t have to be perfect. Just make sure that it shows you what to expect from the final product.
In this stage, you will most likely figure out that the process is more complex than you initially thought. You also don’t have to worry much about the materials involved or the amount of money spent. That’s because this is your first attempt at creating. So, your main goal at the moment is to build a functional piece that will look like your final result.
5. Correct problems in your final design
This is also the main reason why the creation of the first prototype is important. After you’ve succeeded in building it, identifying errors in your final product is much easier.
Final thoughts
Everything listed above helps you to arrive at the final result – the way it’s meant to get the customers. With your final prototype, you should have something to show your potential customers.
This is your final prototype, and it can be used to show your product to potential investors and customers, as well as part of your patent application.
